Connecting Visual Studio Code to SAP ABAP on an On-Premise System without Destination System or a Cloud Connector Set Up
A business may not have the infrastructure ready to develop a Fiori application. It means the company needs a licensed BAS access and Cloud Connector Set up. In this scenario, it will be challenging for developers to proceed with application development as they need to connect to the SAP system to consume data and perform business transactions. Developers can think of local web IDE setup, but not having the cloud connector set up is another challenge.
In VS Code, there is an option to connect to SAP System by giving the system hostname and port number, but in some cases, there might be a challenge too in accessing the OData service through this.
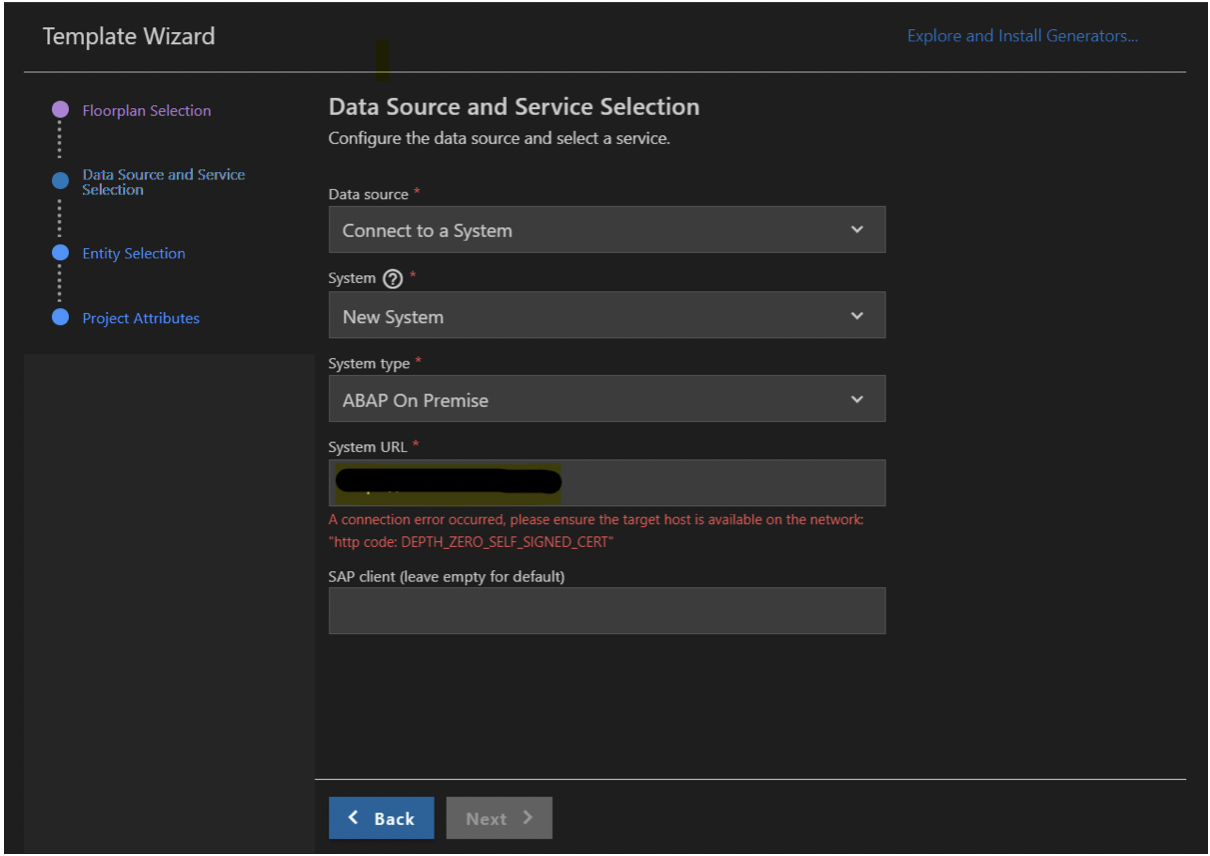
An Alternate Way:
The alternative is to modify a few configuration files.
Let’s take an example by creating a sample project.
Pre-requisites:
It would be best if you connected to the Client Network (Direct or through VPN), the VS Code app, and all the required Fiori plugins have been installed.
Step 1) Create a Fiori application using the Fiori app generator. Choose the Data Source as “None” and proceed.
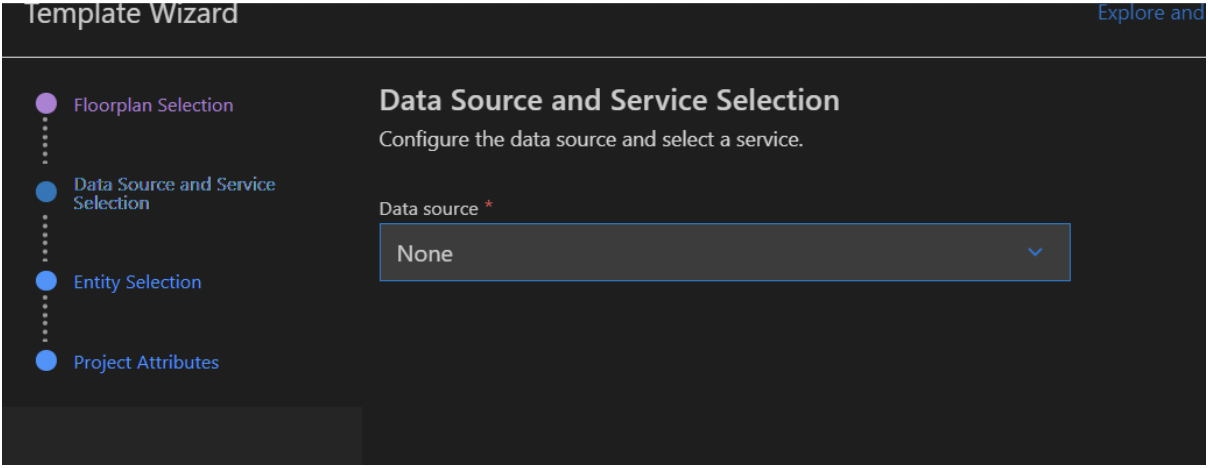
Step 2) In the Manifest.json file, update the “uri” property in “mainService” with the actual path of the OData service.

At this point, If we try to run the application, we can see the ‘metdata.xml’ file is still not getting loaded in the in-network tab because the app is still not connected to the SAP system.
Step 3) Update the ui5.yaml file
ignoreCertError: true (To ignore the certificate errors)
version (optional): SAP UI5 version (if you want your app to run in any specific UI version)
url: <https>://<system hostname>:<port number>

Step 4) Update ui5-local. yaml
ignoreCertError: true (To ignore the certificate errors)

After this step, you can check the metadata.xml will get loaded, which means the application is now connected to the SAP system. You can develop the application here afterward with all the business requirements. To deploy the application, we still need to change a few more configuration files (follow the below steps for the same).
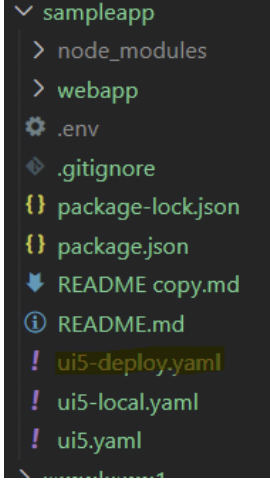
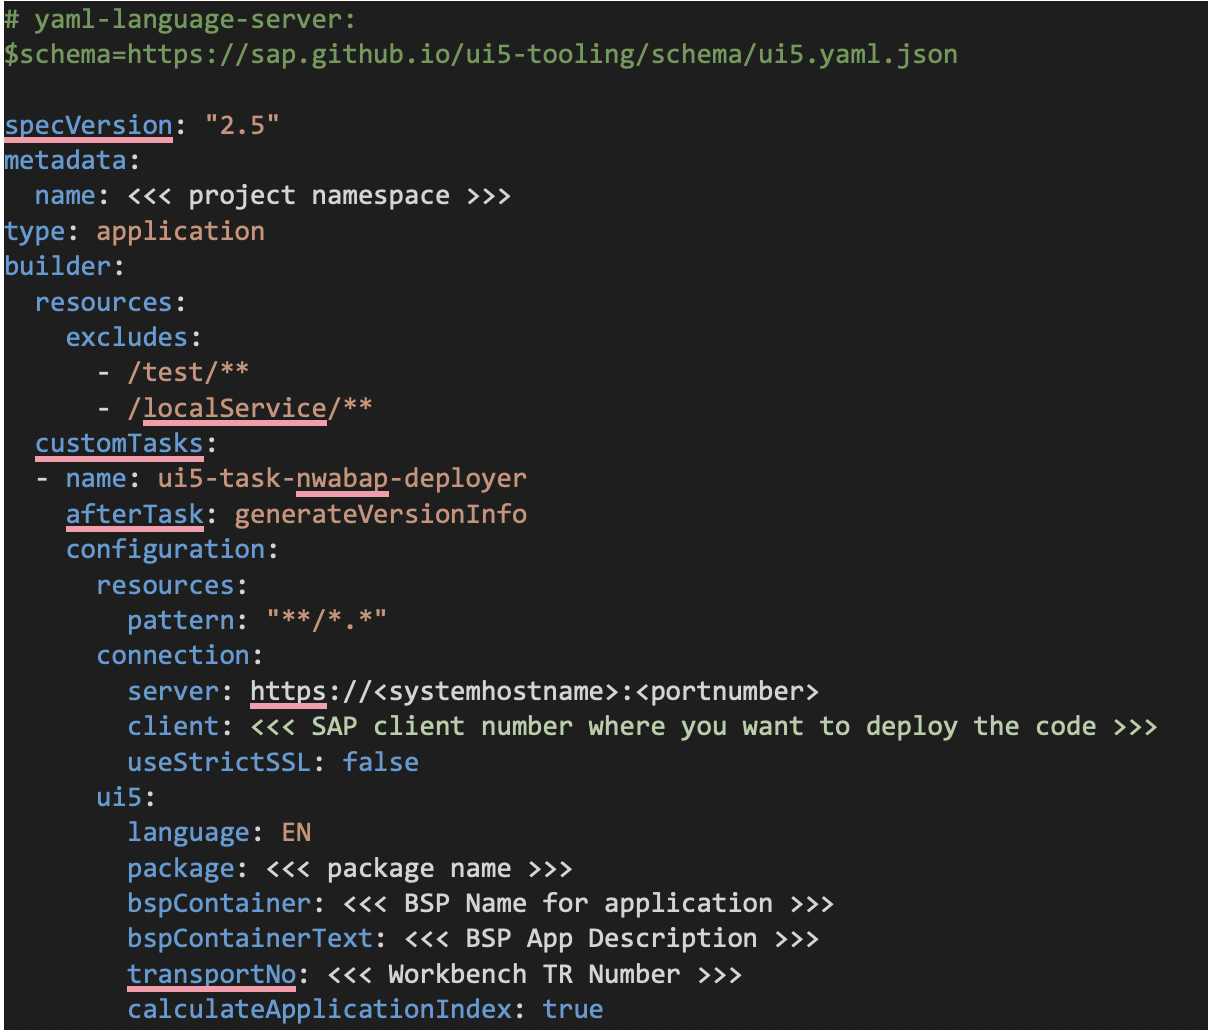
Step 5) Manually add the ‘ui5-deploy.yaml’ file in the project structure.
Create the file and add the code.
**********************************************************************************************************************************************************
**********************************************************************************************************************************************************
Step 6) Update ‘Package.json’ and ‘Package-lock.json’.
A few more dependencies need to be added in ‘package-json’ and ‘package-lock.json’. You can update the below file with the existing ones.
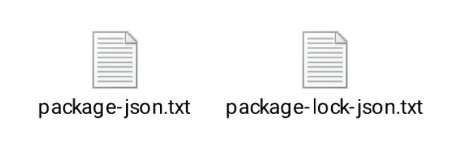
Now:
- Update the namespace in both files.
- In package-json we have added the below script (this script we are going to use while deploying the application).
![]()
Step 7) Add System credentials in the project structure to deploy the application at run time.
Create an “.env” file under the project.
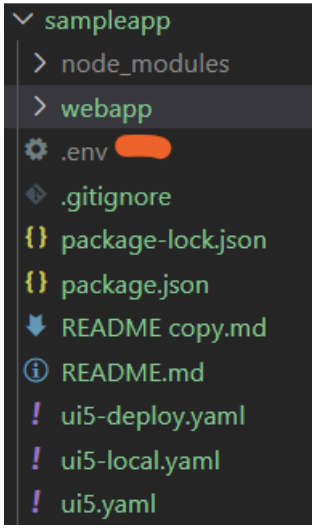
Maintain the SAP system credentials in the .env file.

Step 8) Open the app in the integrated terminal and enter the command “npm deploy-old”.
In conclusion, connecting Visual Studio Code to SAP ABAP on an on-premise system without using a destination system or cloud connector setup is an efficient way to streamline your development workflow. Further, following the steps outlined in this blog, you can seamlessly integrate your local development environment with your SAP ABAP system, allowing faster and more convenient coding and testing.
View our LinkedIn, here.