Part 1: How to Setup the SAP Launchpad Service with two different groups of employees and achieve different roles based on location
There are instances in an organization when different employee groups require access to different sets of applications within the organization. While some applications may require restricted access, others may be common to all groups. In this case, we can create two separate roles for the different employee groups, as well as create a single ‘Group’, or ‘Catalog’ within all the relevant apps for access to the same applications.
This is actually easier to do than it sounds. While assigning the apps to specific roles, the common apps can be assigned to multiple roles and the uncommon apps can be assigned to specific roles. Did I just confuse you? Let me show you how this is done.
The Launchpad Service
The SAP Launchpad Service is a shell that supports SAP Fiori apps while providing different functionalities, such as application configuration, navigation, and personalization. The SAP Fiori apps are accessed through the SAP Launchpad Service and support both desktop and mobile devices. The tiles are displayed on the homepage of the Launchpad. For a more comprehensive idea of the SAP Launchpad Service and how it works, you can read my colleague Tushar Jain’s blog here.
For now, let’s begin by looking at a few definitions that are used with regard to the SAP Launchpad Service often.
Groups: A ‘Group’ is a subgroup of all the apps from the catalogs. The tiles that are displayed on a user’s page are completely dependent on the group that is assigned to the specific role
Catalog: A ‘Catalog’ is a repository of apps that one can display for a single role.
Roles: The access to groups and catalogs are assigned by ‘Roles’.
Now, let us look at how we can go about creating the launchpad service for different user groups within an organization
1. First we will create Two different Roles in Content Manager
Open Portal ‘Site Manager’, followed by ‘Content Manager’. Now, to create a role, click on ‘Role’
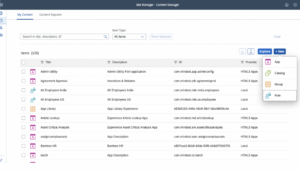
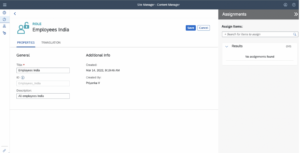
For example, let’s create a role with the ‘Title’ as Employees India. So the ‘ID’ here will be ‘Employees_India’ and the ‘Description’ will be ‘All Employees India’. Now, click ‘Save’.
Next, let’s create another role with the ‘Title’ as ‘Employees USA’. Fill out the ‘ID’ as ‘Employees_USA’ and the ‘Description’ as ‘All Employees USA’ and ‘Save’.
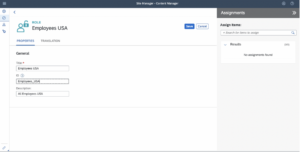
Your Roles for two different employee groups have now been created.
2. Creation of Catalog
Click on ‘Catalog’ to create one.
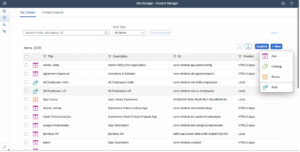
Now, enter the ‘Title’ and ‘Description’. Once updated, the ID will be created automatically. Click on ‘Save’.
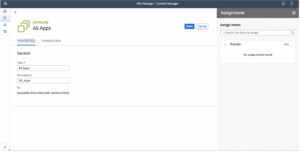
3. Creation of Group
Click on ‘Group’ to create one.
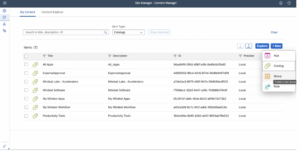
Enter the ‘Title’ name and ‘Description’. Once again, the ‘ID’ will be created automatically. Save it
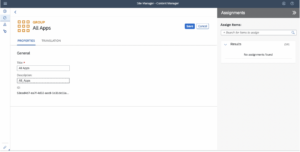
4. Creation of an App
Click on the ‘App’ button to create one.
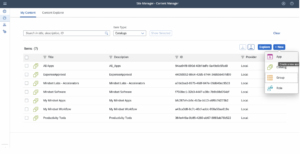
Now, enter the ‘Title’ and the ‘description’.
Select the “In a new tab” option in the ‘Open App’ section below.
Enter the URL link of the site of interest.
Then enter “Semantic Object” and “Action” on the ‘Navigation’ page.
Subsequently, you can enter “Subtitle” and “Add Icon” on the ‘Visualization’ page.
Finally, click on ‘Save’.
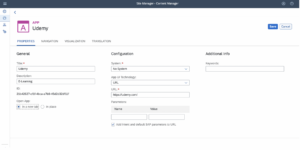
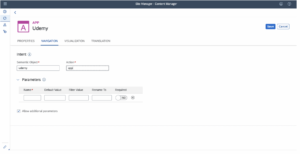
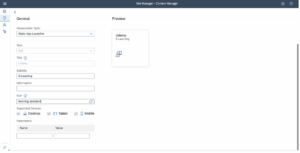
Similarly, create apps for other sites as well. Create as many as you deem necessary.
5. Creation of Site
Finally, let’s look at the creation of a site in the Site Directory.
All you need to do is go to the site directory and click on ‘Create Site’. Now, enter the site name, and you are done.
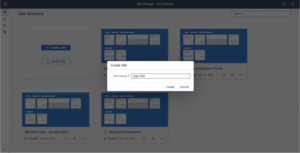
So far, we have seen how to create Roles, Catalog, Groups, Different Apps, and Sites. In the next edition of this blog series, we will look at how we can assign apps to specific groups and catalogs as well as assign roles to the sites created.
Stay tuned.
View our other content, here.
View our journey on LinkedIn, here.