Today, we see a growing interest in the cloud platform within organizations. It helps employees access different sets of applications with ease. In my first blog, Launchpad Services Part I, I talked about the introduction to Roles, Catalog, Groups, Apps & Sites in the Launchpad Service. Today, I will take you through the process of assigning roles to the site and Apps to catalogues and groups.
Some applications have restricted access, while others are far less restricted.
In such scenarios, pick a solution that serves two separate roles. In this case, we can create distinct roles for different employee groups and create a single ‘Group’ or ‘Catalog’ within all the relevant apps for accessing the same applications. Let’s break it down as I take you further through the tool.
In this blog, we will further look into processes that show you,
- How to assign ‘Roles to the Site’ and ‘Apps to Catalog and Groups’
- Setting up the Launchpad Service with two different groups of employees and achieving different roles based on location.
This will enhance the process and function best while assigning common and uncommon apps to multiple and specific roles.
Process Initiation
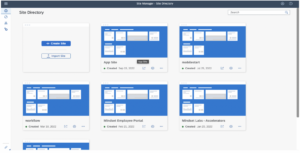
- Open the Portal’s ‘Site Directory’, and click on the ‘Site’ to which you need to add roles. The below screen opens
- Click on the ‘edit’ button to make changes.
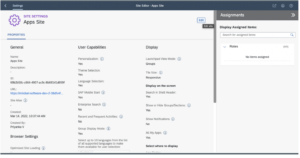
- Now, we will assign the roles to the site by searching the role name in the assignment and assigning items through the search bar. You will see the result displayed below.
- Click on the plus button (+) to add the specific role required to assign to the site.
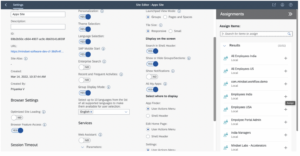
The Employees in India and Employees from the US are now assigned to the site in the section displaying the set items shown in the screenshot above.
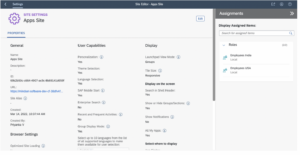
Assigning Apps to a Group
-
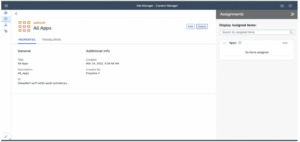
- Open the portal ‘Site Manager’, followed by ‘Content Manager’. Then open the specific group to which you need to assign the apps
- Click the ‘edit’ button
- Within ‘Assignments’, you need to now assign the apps to the group by searching for the apps in the search bar
- Lets Assign Instagram, Make My Trip, Expedia, and Udemy to the Catalog and save it
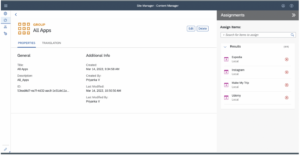
Assigning Apps to a Catalog
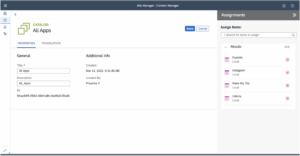
- Open the portal ‘Site Manager’, followed by ‘Content Manager’. Now open the specific Catalog to which you would like to assign the apps.
- Search for the roles in the search bar and click the ‘add’ button to assign the apps to the catalogue. Let’s assign Instagram, Make My Trip, Expedia, and Udemy to the catalogue and save it.
Assigning Apps to the Roles
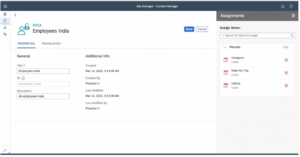
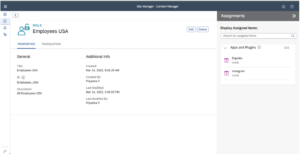
- Once again, open the Portal ‘Site Manager’, followed by ‘Content Manager’. Now open the specific Roles to which you need to assign the apps
- Click on the ‘Edit’ Button to add the Apps to the Role, which, in this case, is ‘Employee India’.
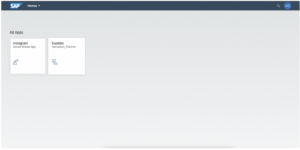
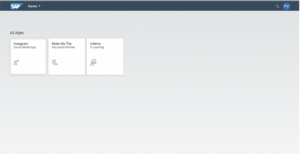
- Here, we will only add the apps that apply to the Indian employees. So, we will add Instagram, Udemy and Make My Trip since employees in India do not have access to Expedia.
- We will repeat this process for US employees and assign the apps that are relevant to them alone.
Assigning Users to the Roles
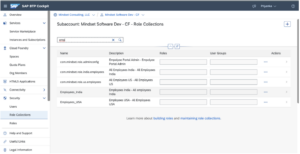
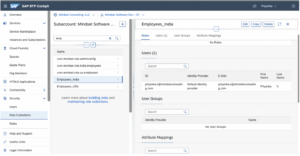
- Go to the BTP Cockpit, click on ‘Role Collections’ and search for relevant roles. Now, click on the appropriate role
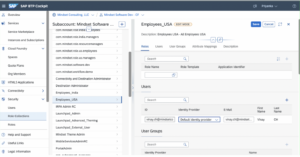
- In the user section, enter an ID, the Identity Provider and the E-mail. Now, save it.
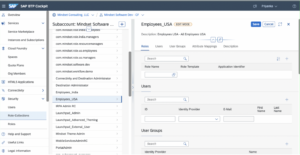
- Finally, assign users to specific relevant roles. Once relevant users have been added to the respective user sections, save it.
Conclusion:
Equipped with the steps listed above, you will now be able to create the Launchpad Service with two different groups of employees and achieve different roles based on location.
If you are interested in viewing similar articles, visit our blog, here.
View our LinkedIn, here.