In my first blog today, I will take you through the process of creating CDS views using HANA Studio (Eclipse) on S/4 HANA System, step by step. This will be the first in a series of blogs where I will discuss how to consume CDS views in Odata Services and Fiori Apps.
CDS View Overview:
Core Data Services (CDS) views are virtual data models used to define and consume semantic data on standard tables or dictionary views. Although the SE11 dictionary view and CDS views both create database views at the backend, CDS views supersede the dictionary view in many ways like annotations, association, expression, aggregation, grouping, etc.
There are two types of CDS views:
- HANA CDS views
- ABAP CDS views
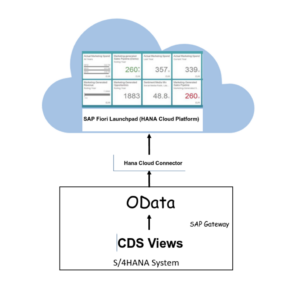
Steps to create a CDS view:
Prerequisite– We are an ADT (ABAP Development Toolkit) in the Eclipse. Therefore, we need an integrated development environment (IDE) for creating ABAP applications on SAP S/4 HANA systems. The ABAP Development Tools provides powerful tools for creating ABAP applications. You can use the below links to install HANA studio.
- Install the latest version of Eclipse- http://www.eclipse.org/downloads/eclipse-packages/
- Install ABAP Development Tools for SAP NetWeaver plugin for the Eclipse- https://tools.hana.ondemand.com/neon/
After a successful installation and integration of HANA Studio, you will need to follow the below steps:
- Create an ABAP Project by clicking on File > New > ABAP Project-
- In the pop-up screen, choose your SAP system from the list. I will be going with the selected screen below S/4 HANA2020).
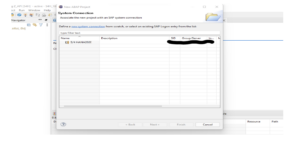
- Click ‘Next’-
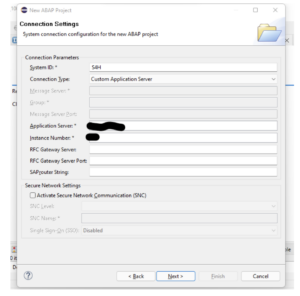
- Again, click ‘Next’-
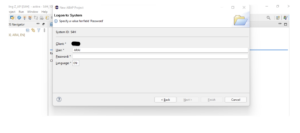
- Enter your credentials and click ‘Finish’-
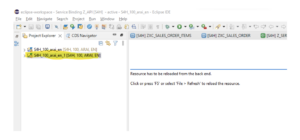
- We can now see, that a project is created with my user ID.
- Creating a CDS View within the above project-
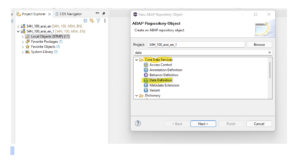
- To create a CDS view, right-click on the newly created package($TMP) -> New -> Other ABAP Repository Object -> Search for Data Definition -> Click on “Next”.
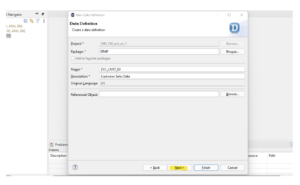
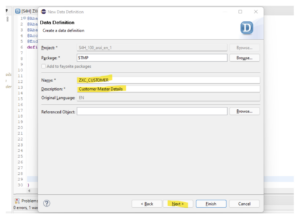
 Fill “Name” and “Description” of the CDS view ->. Click on “Next.”
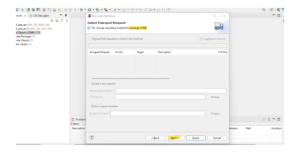
- We are creating our Local Package only. So, we are not going to assign our Object to any TRs (Transport Requests) -> Click on “Next.”
After clicking next, you will need to go through “validating package.” This validation process can take up to a few seconds to complete.
- Select “Define View” -> After that ->Click on “Finish”.
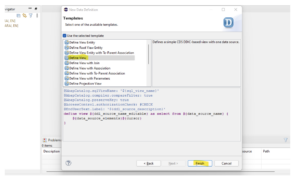
- As is evident from the screen below, our new CDS view is created.
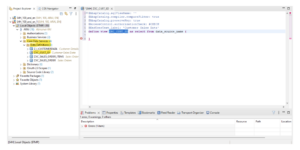
- Firstly, let’s modify the “sql_view_name” name and redefine a specific term (ZX_VW_CUST_SD) for our development, and we will fetch data from table ‘KNVV’ (Customer Master sales data).
- Go to the coding area and hit “CTRL + SPACEBAR” (suggestion) -> Here, we get “Insert all elements- template” and a range of fields. We need to select the fields as per our requirements. In this instance, we have chosen the fields, as is evident from the screen below.
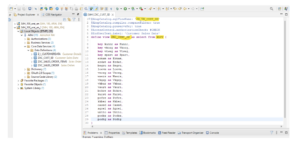
- Save( CTRL + S) the changes and activate(CTRL + F3 ) the CDS view.
- Let us create another similar CDS view for “Customer Details” -> Right click on the “Local Object ($TMP)” -> Other ABAP Repository Object -> Search for “Data Definition” -> Click on “Next”.
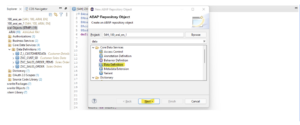
- Provide the CDS view “Name” and “Description” -> Click on “Finish.”
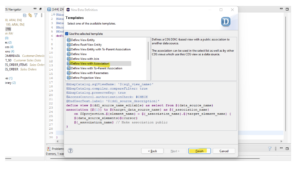
- Click on ‘Define View with Association’ and then click on ‘Finish.’
- Redefine the ‘sql_View_name’ as ‘ZX_VW_CUST’ and use the table ‘KNA1’ table to fetch data in this CDS view. Now, join this CDS view with the previous CDS view (ZX_VW_CUST_SD) using association as shown in the screen below;
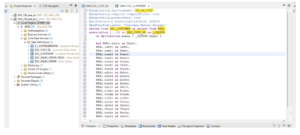
- Save( CTRL + S) the changes and activate(CTRL + F3 ) the CDS view.
- Right click on the CDS view (ZXC_CUSTOMER) -> Open With -> Data Preview.
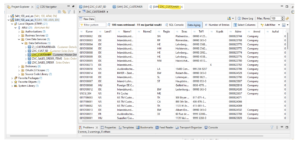
Finally, we can now see the data of both the CDS views we created by using HANA Studio (Eclipse)! Since, by now, you probably understand that these views are not just single items but are combinations of Data Domain Models running on the Database level and SQL views created with the same domain model at a single application level. I hope this blog helps you to create an essential CDS view and associate one CD view with another. Happy learning!
To view our resources page with similar content, click here.